Tcl/Tk, MQTT, and Mosquitto - Part 1
Learning "The Internet of Things" with Tcl/Tk
I have over 40 years of programming experience using a variety of languages over the course of my career to develop real-time solutions for real-world problems.
Keyboards connect us to the world and, as a keyboard enthusiast, I am searching for the ideal keyboard.
Background
After downloading Magicsplat's latest TCL distribution (8.6.12), I noticed a few new packages became available and mqtt and broker piqued my curiosity.
TCL now provides the ability to create and connect to a broker/server client, enabling us to write code for the "Internet of Things." I started researching MQTT and discovered a new realm of resources.
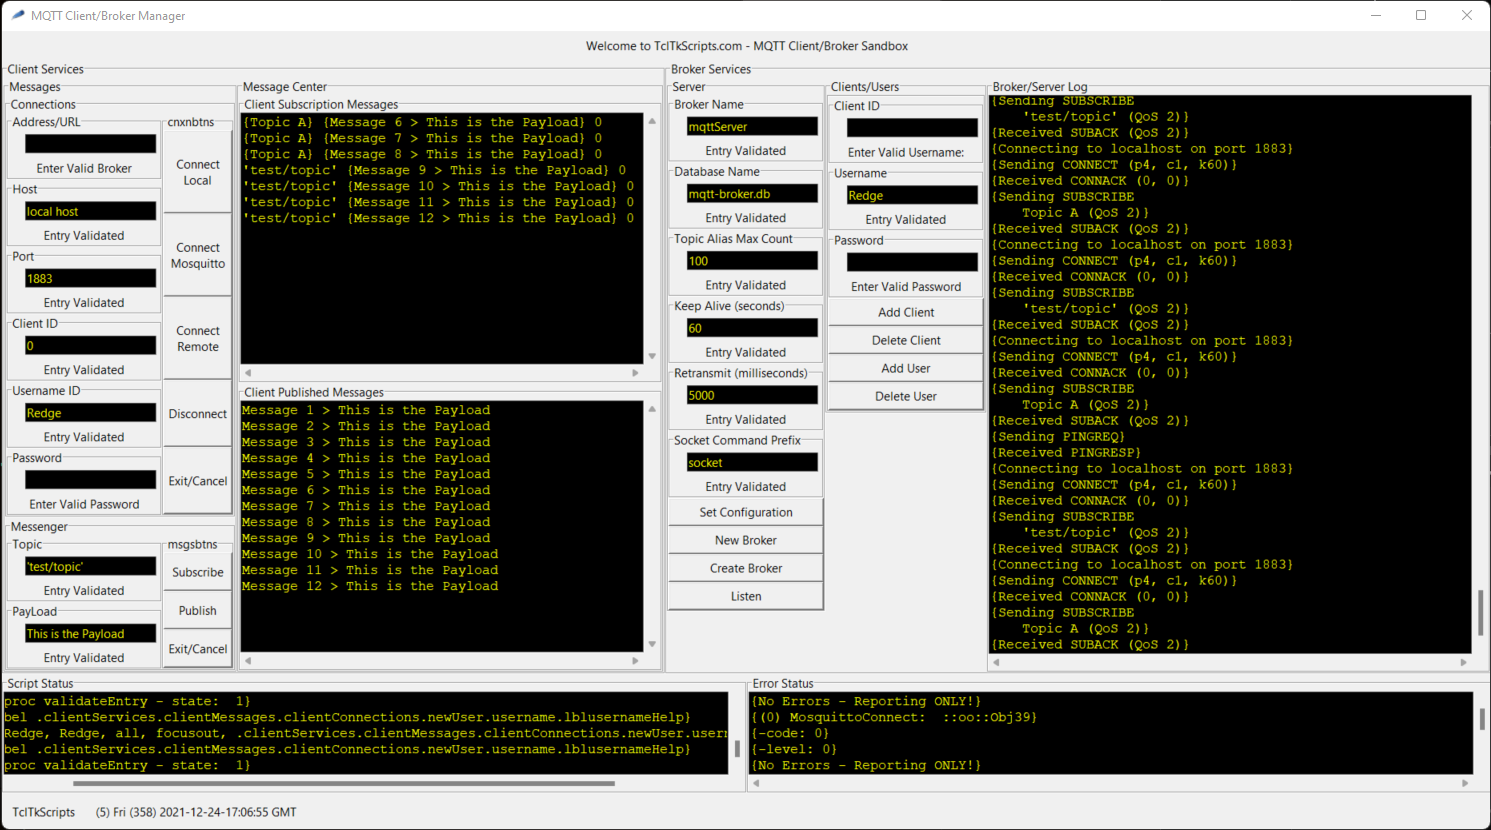
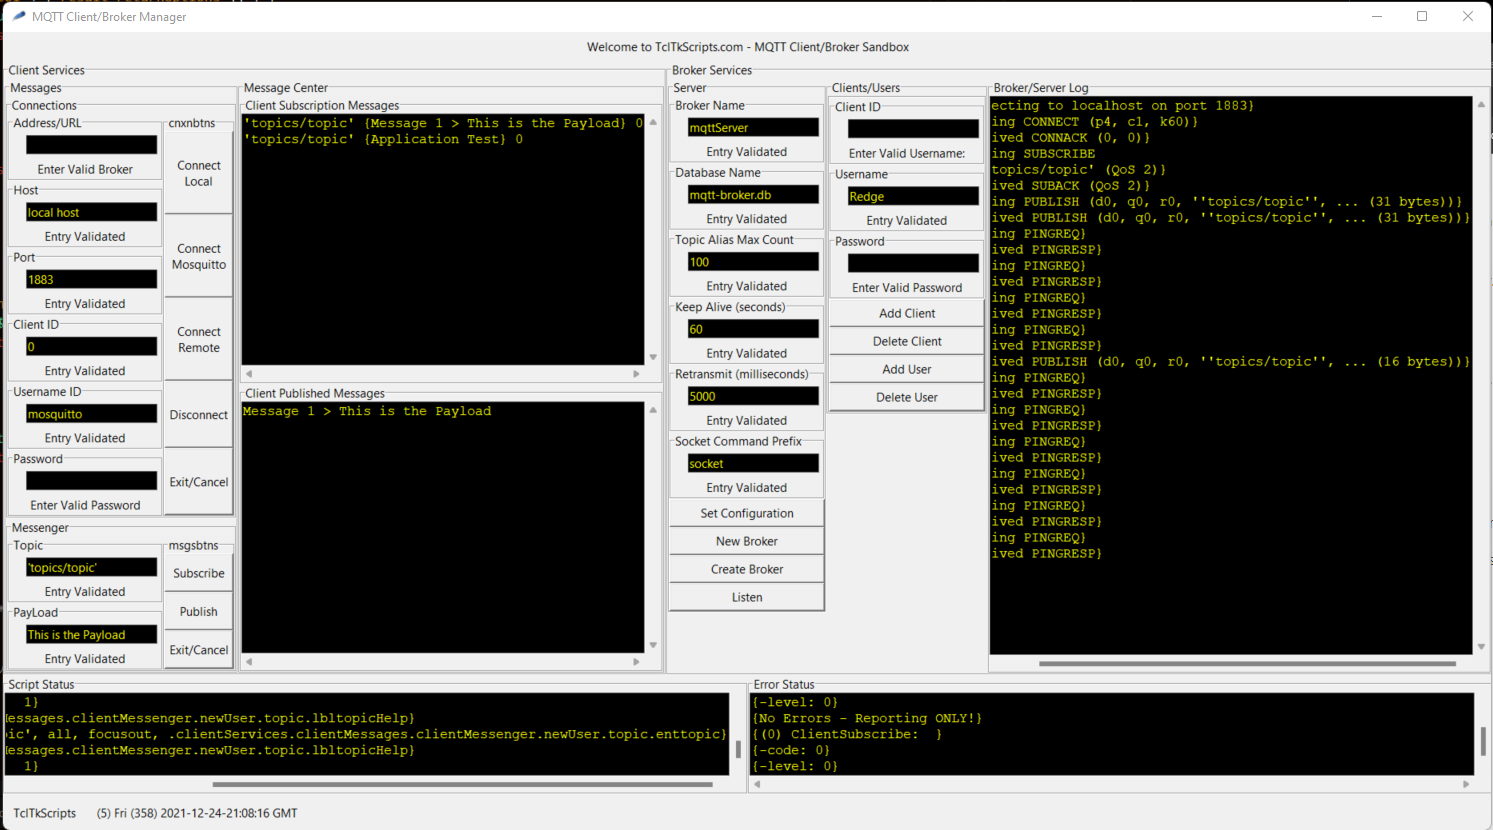
After a few weeks of research and coding, I wrote a simple Tcl application, as pictured below, that allows me to connect, subscribe and publish messages to brokers on "localhost."
Mosquitto
Although I could create a broker instance using the broker package, subscribe to topics and publish messages, all the transactions were completed and managed within the application. I wanted to ensure that my application could communicate with an "external" broker.
I discovered MOSQUITTO, an open-source (EPL/EDL licensed) message broker, during my research. Mosquitto implements the MQTT protocol versions 5.0, 3.1.1 and 3.1 and is available for multiple platforms (Windows, Mac, Linux, Debian, Raspberry Pi, and Ubuntu.
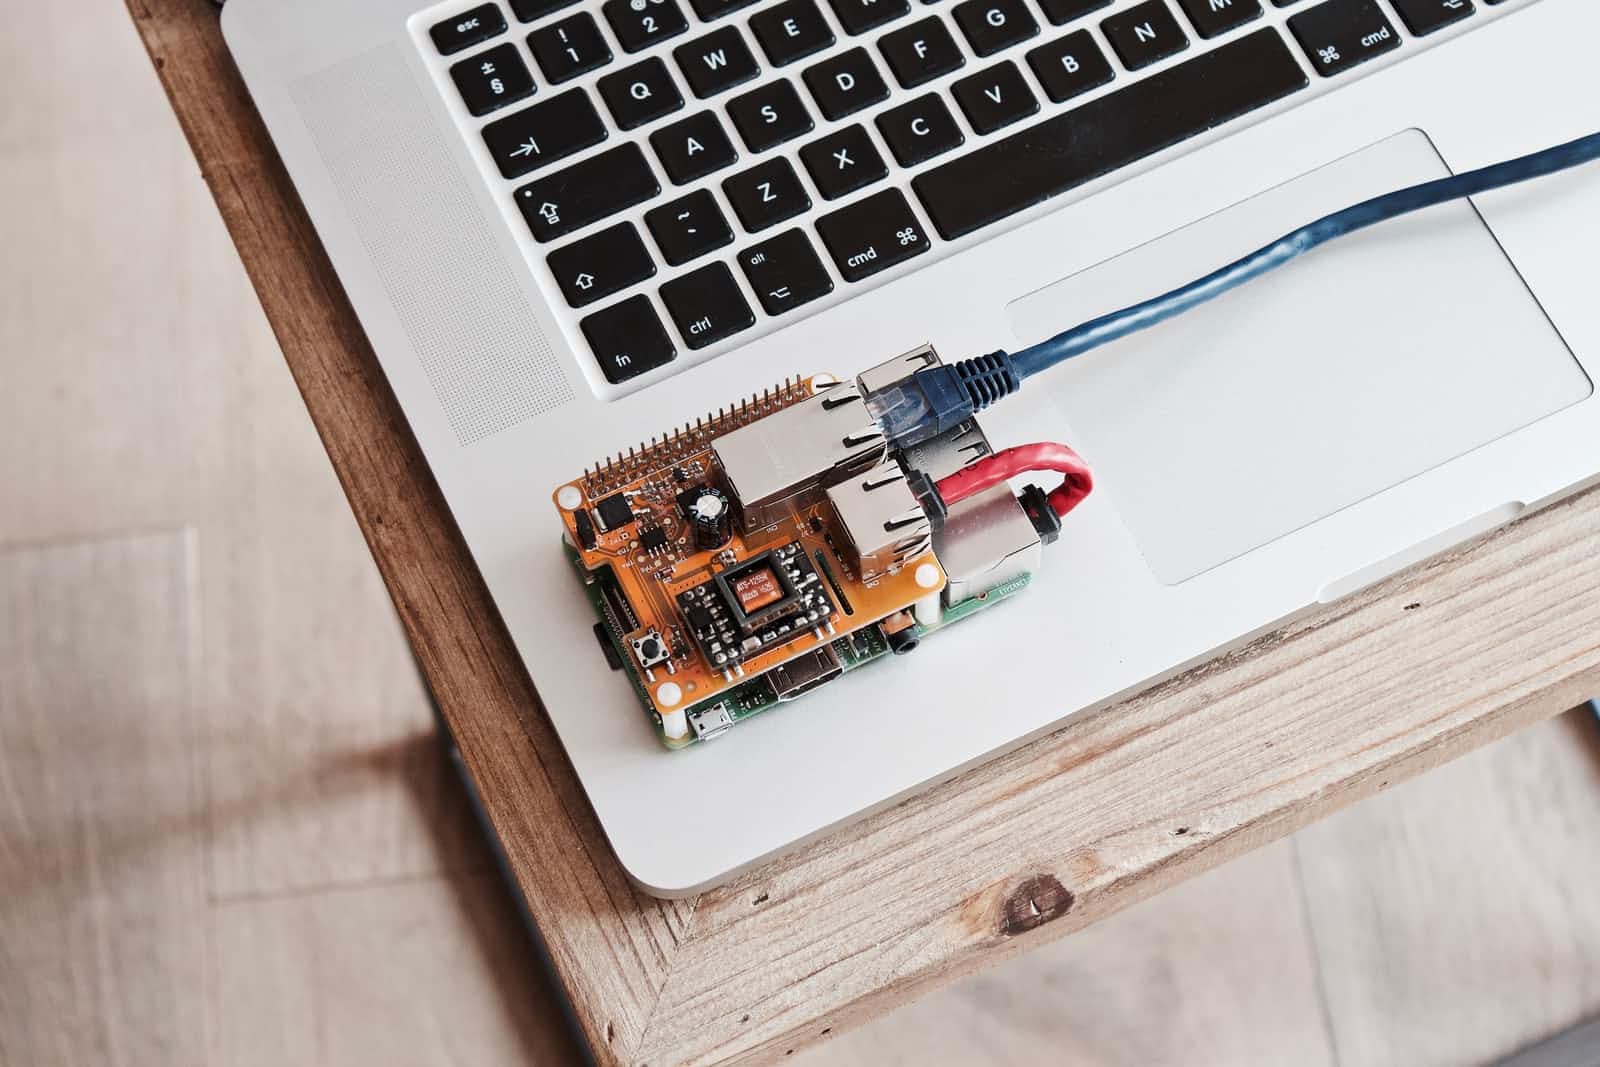
I have a Raspberry Pi, and the ultimate goal is to create an application that can communicate with this device.
Installing Mosquitto
Download the mosquitto installer for your system from the mosquitto.org download page and follow the instructions when you run it. By default, mosquitto will start when you start your computer. The installer provides an option to turn this feature off.
You can choose to install mosquitto to a directory other than the default. I installed mosquitto in the D:\mosquitto-2.0.14-x64 subdirectory. Write down or remember this location as you need it to access mosquitto, subscription and publishing utilities.
Running Mosquitto
Open a new terminal session (cmd.exe) and change to the mosquitto subdirectory. Enter "mosquitto -v" at the command prompt to run mosquitto in verbose mode. The syntax for the full command is: mosquitto [-c config_file] [-d] [-h] [-p port] where, -c: specify the broker config file. -d: put the broker into the background after starting. -h: display this help. -p: start the broker listening on the specified port. Using this option in conjunction with the -c option is not recommended. -v: verbose mode - enable all logging types. This option overrides any logging options in the config file.
We can use the netstat command to confirm that Mosquitto is now running. Enter "netstat -ano" to query all active connections on your system. Of the many entries that may appear, you should find an entry having a local address similar to "127.0.0.1:1883" and a state of "LISTENING."
Testing the Mosquitto setup
We can use the netstat command to confirm that mosquitto is running. The netstat command Use the subscribe and publish utilities to test the mosquitto installation.
Subscribing to a topic
Use the mosquitto_sub command to subscribe to a topic and print the messages as they are received. Visit the mosqitto_sub documentation page for more details on the many available options.
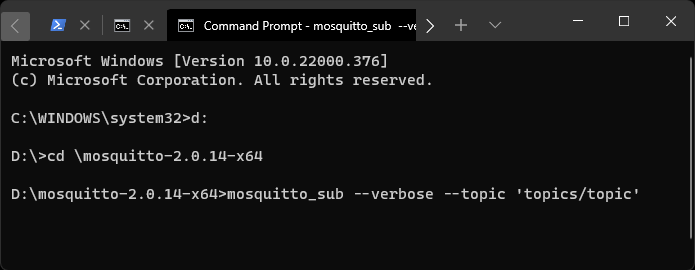
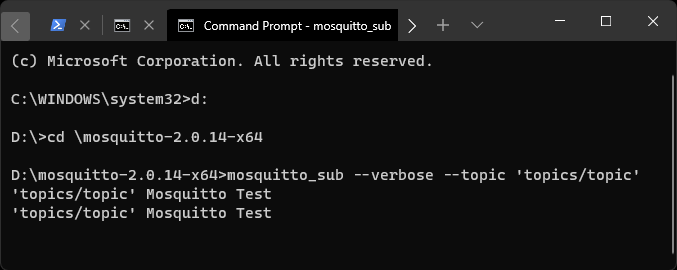
Open a new terminal session (cmd.exe) and change to the mosquitto subdirectory. To subscribe to test/topicA, enter the following command, including the single quotes (') around the test/topic, at the command prompt:
'''mosquitto_sub --verbose --topic 'topics/topic' '''
After entering this command, your system patiently waits to receive and print messages from the broker.
Publishing a message
Use the mosquitto_pub command to publish a single message on a topic and exit. Visit the mosqitto_pub documentation page for more details on the many available options.
Open a new terminal session (cmd.exe) and change to the mosquitto subdirectory. To publish a message to topics/topic, enter the following command, including the single quotes (') around the test/topic, at the command prompt:
'''mosquitto_pub --topic 'topics/topic' --message "Mosquitto Test" '''
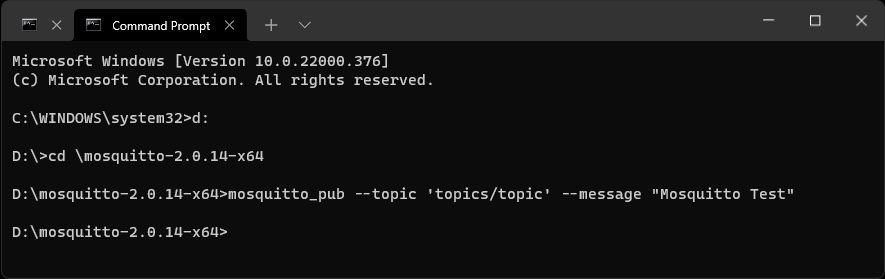
After entering this command, it should immediately appear in the terminal session for your subscription. I ran the same mosquitto_pub command twice, as pictured below.
Running MY MQTT Application
To confirm that my MQTT application interface is running correctly, I connected to the Mosquitto broker and subscribed to the same topic: 'topics/topic.'
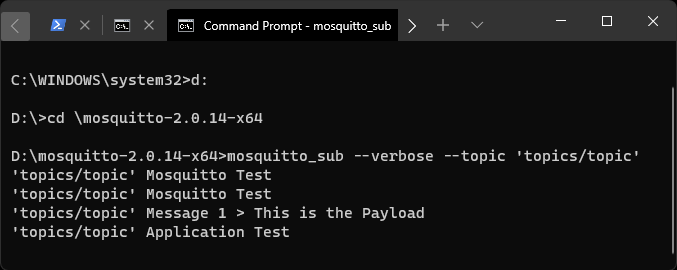
I then used my application to publish the "This is the Payload" message on the topic. It immediately appeared in the subscription terminal session and my application's "Client Published Messages" window.
I then returned to the publishing terminal session to publish the "Application Test" message. It immediately appeared in my application's "Client Subscription Messages" window and the subscription terminal session.
The pictures below demonstrate the results of testing my initial MQTT application.
My MQTT Application Interface
Subscribe Terminal Session
Publish Terminal Session

The Fundamentals - Part 1
I now have the fundamental tools to evolve the application from a loosely functional interface into something more presentable and practical.
At best, the application demonstrates the power and ease of the Tcl/Tk programming language to create an application in a few days (part-time).
I am now testing to connect to external/remote brokers and developing a menu-based interface that will free up real estate on the screen for things that matter most.
Related Articles and Resources
7 Best MQTT Client Tools Worth Trying by Li Guowei Aug. 12, 2022.